Homemade Peanut Butter Cups Mini Bites
Highlighted under: Pastry Pleasures
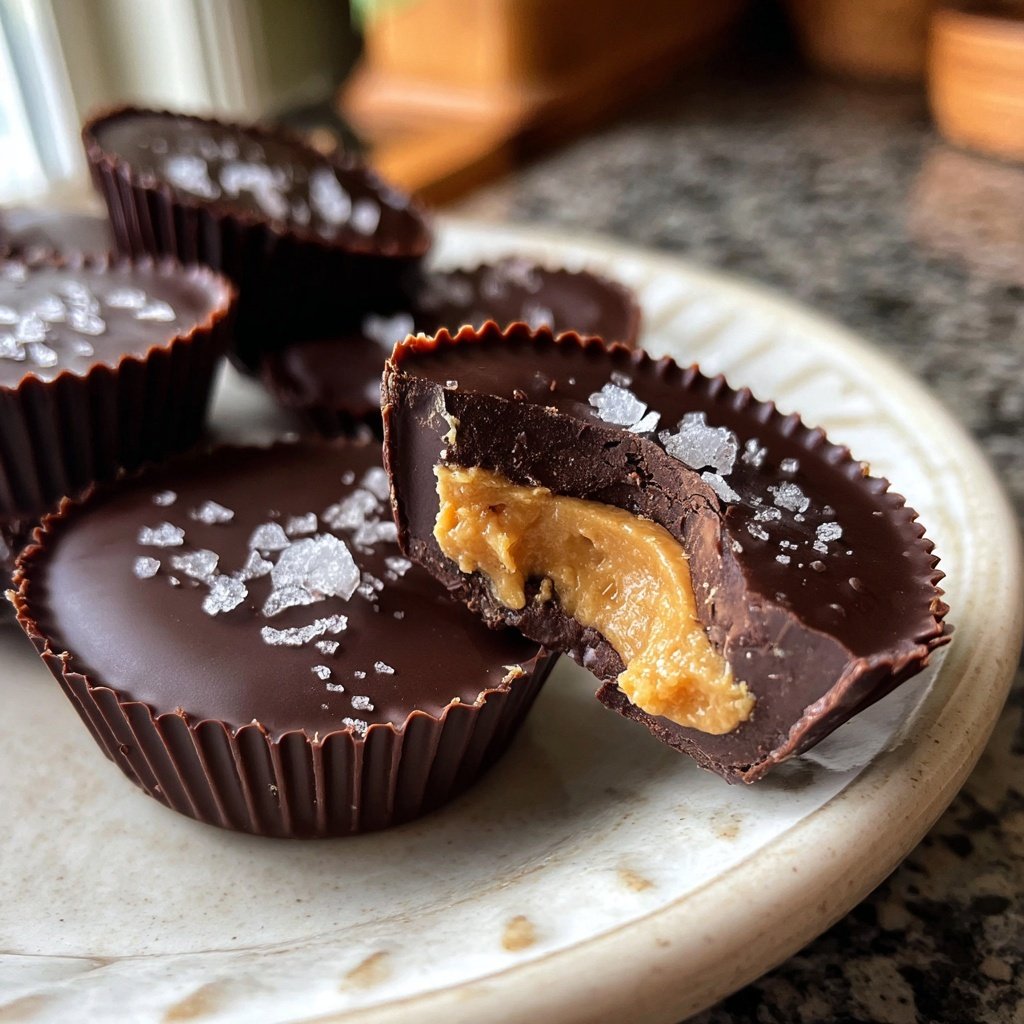
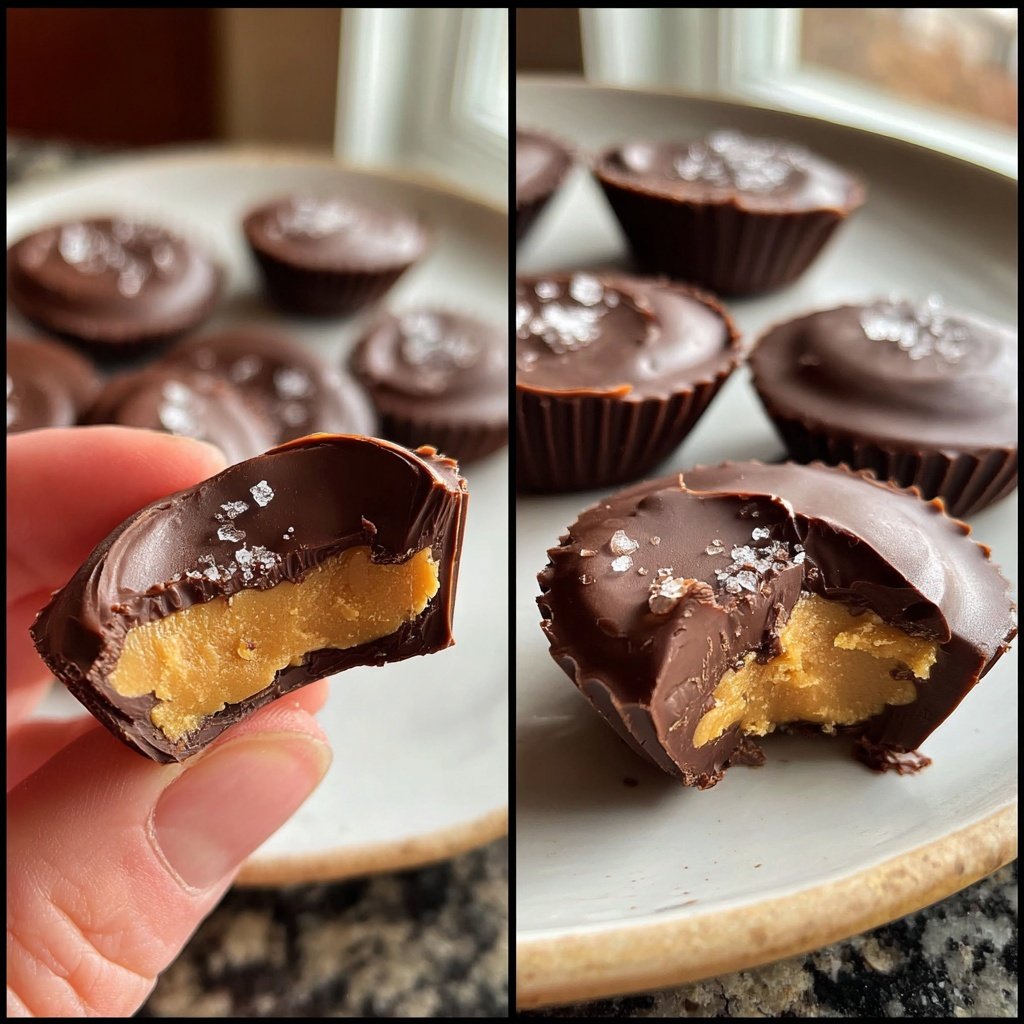
I absolutely love making these Homemade Peanut Butter Cups Mini Bites because they combine the rich, creamy goodness of peanut butter with a delightful chocolate coating. Each bite is a perfect balance of sweet and salty, and they’re wonderfully easy to whip up. Whether you're preparing a treat for yourself or for a gathering with friends, these mini bites never fail to impress. I find that using high-quality chocolate elevates the experience, making each piece a luxurious indulgence. Plus, they’re a fantastic way to customize flavors!
When I first attempted to make these Homemade Peanut Butter Cups Mini Bites, I was motivated by a craving for something sweet yet satisfying. I decided that rather than buying pre-made versions, I would create my own from scratch. The process is quite straightforward, and I was pleasantly surprised at how quickly they came together!
One detail that made a significant difference for me was melting the chocolate with a touch of coconut oil for a smoother texture. This not only enhances the flavor but also helps the chocolate set beautifully around the peanut butter filling. I can’t wait for you to try these!
Why You Will Love This Recipe
- Rich peanut butter flavor enveloped in smooth chocolate
- Perfectly portable for on-the-go snacking
- Customizable with various toppings or flavors
Mastering the Chocolate Layer
Getting that perfect chocolate coating is crucial for the success of your Homemade Peanut Butter Cups Mini Bites. When melting the chocolate chips, be sure to use a microwave-safe bowl and work in 30-second intervals, stirring in between. This helps avoid overheating, which can seize the chocolate. You want it to be glossy and smooth, not thick or grainy. If your chocolate ends up too thick, you can add a little more coconut oil to achieve the desired consistency.
I recommend using high-quality chocolate, as this will significantly enhance the overall flavor of your mini bites. Dark chocolate with at least 60% cocoa content not only adds depth of flavor, but also balances the sweetness of the peanut butter. If you prefer a sweeter bite, feel free to use semi-sweet chocolate or even milk chocolate, with adjustments made to the sugar in your peanut butter mixture to avoid it becoming overly sweet.
Personalizing Your Treats
One of the best parts about these mini bites is how easily they can be customized. If you're feeling adventurous, consider mixing in different flavors into your peanut butter filling. A dash of vanilla extract or a sprinkle of cinnamon can add a delightful twist. You could also swap out the creamy peanut butter for almond or cashew butter for a different nuttiness. Don't forget, you can also mix-in ingredients like crushed pretzels or toffee bits into the filling for extra texture.
The topping possibilities are endless! After applying the final layer of chocolate, you can top each mini bite with sea salt, chopped nuts, or a drizzle of white chocolate for added flair. This not only elevates the visual appeal but also enhances the flavor profile, balancing the richness of peanut butter and chocolate with a crunchy, salty contrast. Each modification can lead to a unique treat that suits your preferences or those you're serving.
Ingredients
Gather these simple ingredients to create your mini bites:
Ingredients
- 1 cup creamy peanut butter
- 1/2 cup powdered sugar
- 1 cup dark chocolate chips
- 2 tablespoons coconut oil
- 1/2 teaspoon salt
Make sure to have these ingredients on hand for easy preparation!
Instructions
Follow these steps to create your mini bites:
Prepare the Peanut Butter Filling
In a mixing bowl, combine the creamy peanut butter, powdered sugar, and salt. Mix until smooth and well combined.
Melt the Chocolate
In a microwave-safe bowl, combine the dark chocolate chips and coconut oil. Heat in 30-second intervals, stirring in between, until fully melted and smooth.
Assemble the Bites
Line a mini muffin tin with cupcake liners. Pour a spoonful of melted chocolate into each liner, coating the bottom. Add a small amount of the peanut butter mixture on top, then cover with more chocolate.
Chill and Serve
Place the muffin tin in the refrigerator for about 20 minutes, or until the chocolate hardens. Once set, remove the mini bites from the liners and enjoy!
Now that you’ve assembled your tasty treats, it's time to savor them!
Pro Tips
- Feel free to experiment by adding crushed nuts or a sprinkle of sea salt on top of the chocolate before it sets for an extra crunch.
Storage and Make-Ahead Tips
These Homemade Peanut Butter Cups Mini Bites are perfect for preparing in advance, making them ideal for parties or as a weekday treat. Once they’ve set, store them in an airtight container in the refrigerator for up to two weeks. If you want to keep them longer, they freeze beautifully—just layer them between sheets of parchment paper and place in a resealable freezer bag. Allow them to thaw in the fridge before enjoying for the best texture.
If you're a fan of meal prepping, you can even make a double batch of the filling while melting chocolate. This way, you can whip up mini bites whenever a snack craving hits, or to bring to gatherings. Just remember that the chocolate coating needs to be applied fresh for the best taste and appearance; it’s worth the extra effort for that perfect bite!
Troubleshooting Common Issues
If your chocolate doesn’t seem to coat well or remains too thick, it’s likely that it was overheated during melting. In this case, adding a teaspoon of coconut oil can help return some smoothness and fluidity. Additionally, if your peanut butter mixture feels too runny, consider adding a bit more powdered sugar to achieve a thicker consistency. This ensures that the bites hold their shape once coated and chilled.
Another common issue is removing the mini bites from the muffin liners. If they stick, gently run a small knife around the edges to loosen them before carefully peeling away the liner. Allowing the mini bites to chill longer can also help them set more firmly, making them easier to remove. A little patience during the cooling process will reward you with perfectly shaped and delightful treats.
Questions About Recipes
→ Can I use milk chocolate instead of dark chocolate?
Yes, milk chocolate can be used for a sweeter flavor, but it may not set as firm as dark chocolate.
→ How should I store the mini bites?
Store them in an airtight container in the refrigerator for up to two weeks.
→ Can I make these bites vegan?
Absolutely! Just choose vegan chocolate chips and ensure your peanut butter is free from additives.
→ What can I use instead of coconut oil?
You can substitute coconut oil with any neutral oil like vegetable oil, though the flavor may slightly differ.
Homemade Peanut Butter Cups Mini Bites
Created by: Eliza Thornton
Recipe Type: Pastry Pleasures
Skill Level: Easy
Final Quantity: 24 mini bites
What You'll Need
Ingredients
- 1 cup creamy peanut butter
- 1/2 cup powdered sugar
- 1 cup dark chocolate chips
- 2 tablespoons coconut oil
- 1/2 teaspoon salt
How-To Steps
In a mixing bowl, combine the creamy peanut butter, powdered sugar, and salt. Mix until smooth and well combined.
In a microwave-safe bowl, combine the dark chocolate chips and coconut oil. Heat in 30-second intervals, stirring in between, until fully melted and smooth.
Line a mini muffin tin with cupcake liners. Pour a spoonful of melted chocolate into each liner, coating the bottom. Add a small amount of the peanut butter mixture on top, then cover with more chocolate.
Place the muffin tin in the refrigerator for about 20 minutes, or until the chocolate hardens. Once set, remove the mini bites from the liners and enjoy!
Extra Tips
- Feel free to experiment by adding crushed nuts or a sprinkle of sea salt on top of the chocolate before it sets for an extra crunch.
Nutritional Breakdown (Per Serving)
- Calories: 120 kcal
- Total Fat: 9g
- Saturated Fat: 3g
- Cholesterol: 0mg
- Sodium: 80mg
- Total Carbohydrates: 10g
- Dietary Fiber: 1g
- Sugars: 5g
- Protein: 3g